Dodge Caliber Forum banner

Custom Air Intake

15K views 42 replies 8 participants last post by  Spz0  
#1 · (Edited by Moderator)
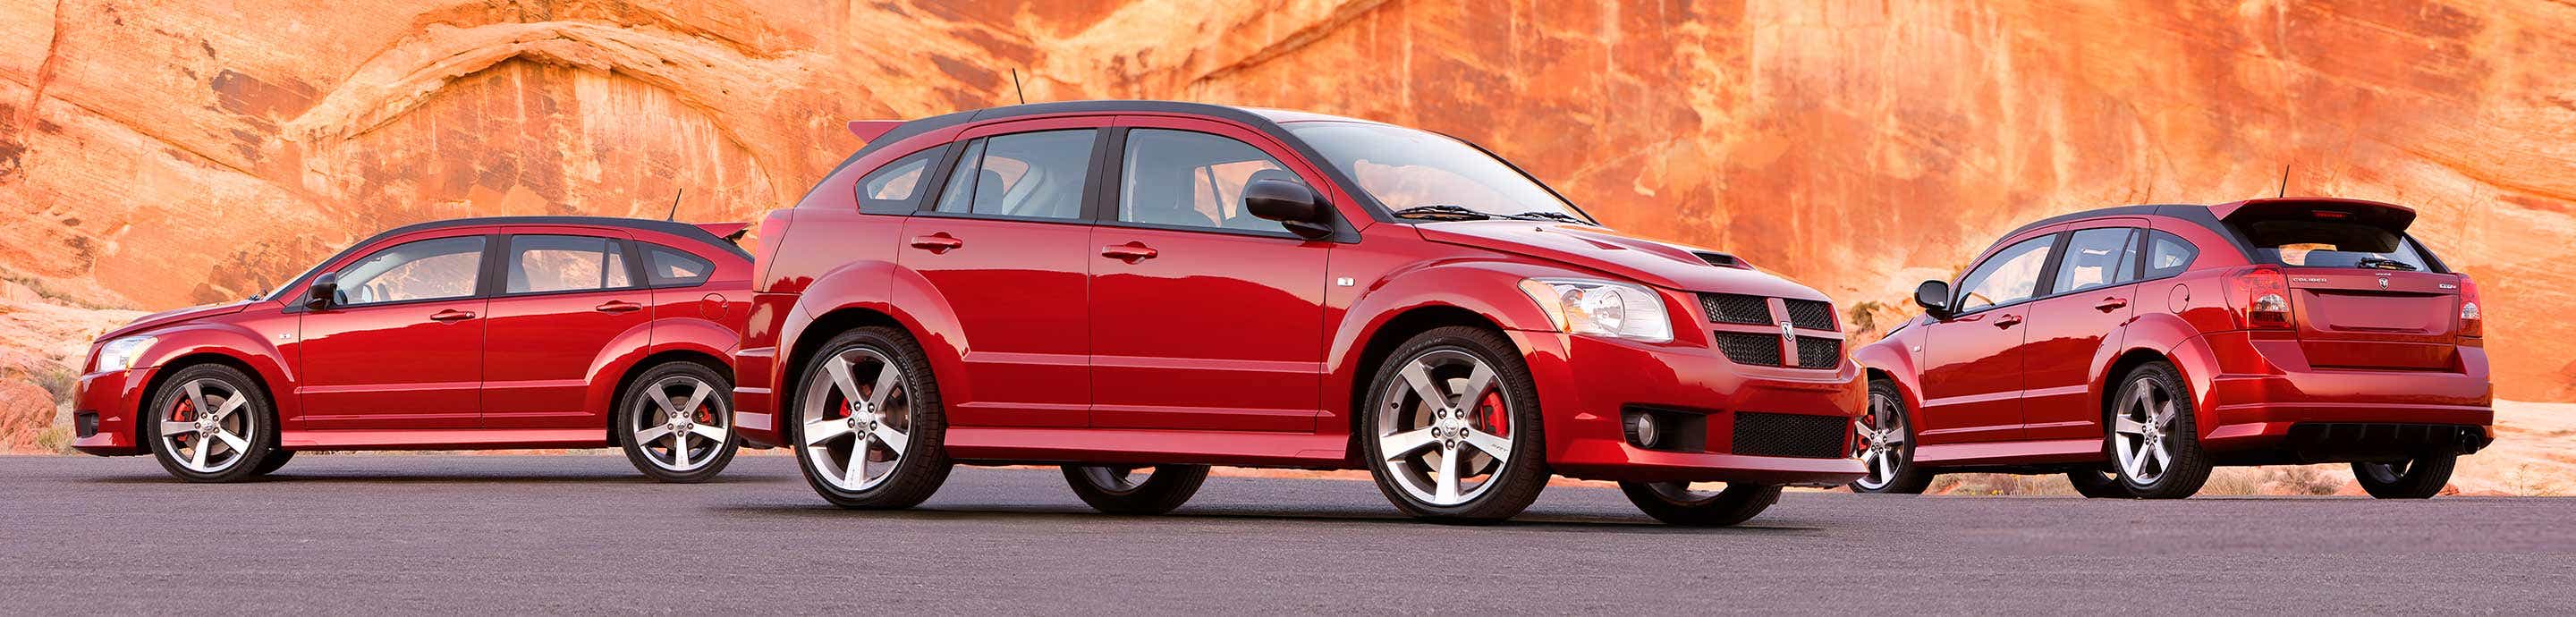
After much discussion on which air intake Im going to be using, I have decided on a drop in K&N Filter, but I am going to make a custom Air Intake Nozzle Inspired by HICal (Thanks m8 :) ).

This will be a work in progress over the next couple weeks, so I"ll update this thread accordingly.

Heres the rough cut of the air intake I worked on today, slapped together with some 2030. lol :p
With any luck (and a crapload of bondo), it will look much better in a few weeks (if not, in the garbage it goes).

Image


Some WIP pics.
Still needs an intake Jig (making separate piece to step down to the AI box hole size), and some paint (Flat Black). Also need to Mfg a way to hold it in place (will probably use an aluminum band, bent to shape, holes drilled to use the factory tie down clips).

Image


Image


Image


_______________

Some more pics after primer coat and airbox mount installed..

Image


Image


Image


I took all the pieces and tacked them together with krazy glue and a few vices, then once they were tacked, I siliconed the joints and let dry overnight before a good primer coat. The next day I heat taped the entire unit, and manufactured the jig/mount for the airbox insert. Siliconed it and heat taped it, then inserted it into the back of the main nozzle. I used some one-sided adhesive foam tape to seal the side edges of the insert before marrying the insert to the nozzle with heat tape (to seal the 1/8" gap I had on the sides of the insert).
Sanded the entire unit and slapped a couple coats of auto primer on it.

________

Well, I've got a somewhat finished product now. Still lacking paint and finishing touches (want to call a fiberglass shop to see how much a cover would be) but its more or less done now. Tested 0-60Mph on some back roads, and Hooboy! Can really tell a difference. :) From start to about 30-40 the change is performance is nominal, but after it breaks that mark Im feeling a definite improvement in acceleration. Probably has most to do with the engine reaching higher RPMs at that Mph range and sucking more air.

Happy Happy. :)

Image


Image


Image


__________________

Looking it over, I've adequately coated the glass cloth. Went ahead and gave it its first round of sanding. Think its gonna turn out good with 2 more coats or so..

Image
 
#2 · (Edited by Moderator)
Round 2 and 3 of Bondo and sanding and glazing.
Image


Image


Image


Smooth as butter now. Just getting the pin holes out with some glazing compound.

The top side has some very minor hills and valleys and Im not sure if they will show when finish paint is added. I've dot-marked them, and I may go over them with some glazing to see if I can raise them up a touch.

_________________

Update:
Instead of using glazing for those spots, I ended up using one more thin layer of bondo and a super-wide putty knife that spanned both sides of the top. Worked damn good. _Then_ I used glazing to fix up all the pin holes and scratches left from sanding.
Heres the product with the final coat of Primer added.

Image


Image


Im looking at getting a topside decal for it once the finish coat is done.
Perhaps something along the lines of this (but if I can find a Mopar decal locally then I'd rather have that):
http://www.autozone.com/autozone/acc...er=530380_0_0_

_______________

Well, heres the finished product. :)

Still going to be doing something different with the mounting system (probably heat bend some plastic to form-fit the mount), but the bulk is complete.

Image


Image


Image


Image


Image


__________________

Well, I opted for the straight black approach for now. Sprayed the Air Box, Fuse Box, AI pipe and engine cover. I'll be spraying the rad cover in the near future, and probably the rad hoses as well.
Was night time when I took the pics. I"ll roll it out in the daylight tomorrow and take a few higher Q pics. ;)

Image


_____________

Heres some better pics under the hood in the daytime, as promised.

Image


Image


Image


__________________
 
#6 ·
Progress

Some WIP pics.
Still needs an intake Jig (making separate piece to step down to the AI box hole size), and some paint (Flat Black). Also need to Mfg a way to hold it in place (will probably use an aluminum band, bent to shape, holes drilled to use the factory tie down clips).

Image


Image


Image


Not glamorous :i_rolleyes:, but it should function well. :)
 
  • Like
Reactions: Francois
#8 · (Edited)
Progress.

Some more pics after primer coat and airbox mount installed..

Image


Image


Image


I took all the pieces and tacked them together with krazy glue and a few vices, then once they were tacked, I siliconed the joints and let dry overnight before a good primer coat. The next day I heat taped the entire unit, and manufactured the jig/mount for the airbox insert. Siliconed it and heat taped it, then inserted it into the back of the main nozzle. I used some one-sided adhesive foam tape to seal the side edges of the insert before marrying the insert to the nozzle with heat tape (to seal the 1/8" gap I had on the sides of the insert).
Sanded the entire unit and slapped a couple coats of auto primer on it.

~Cheers~ :)
 
#9 ·
Well, I've got a somewhat finished product now. Still lacking paint and finishing touches (want to call a fiberglass shop to see how much a cover would be) but its more or less done now. Tested 0-60Mph on some back roads, and Hooboy! Can really tell a difference. :) From start to about 30-40 the change is performance is nominal, but after it breaks that mark Im feeling a definite improvement in acceleration. Probably has most to do with the engine reaching higher RPMs at that Mph range and sucking more air.

Happy Happy. :)

Image


Image


Image
 
#10 ·
In all honesty, it does not look "half bad", obviously it is functional, solidly installed and doing what you intended it to do.
I'd run with it for a while as it is to see what your overall impression is.
Maybe go back to your original idea - bondo.

Some bondo kits come with glass cloth.

Bondo. (maybe some glass on the corners)
Sand.
Thin coat of bondo overall.
Sand again. (get it "super smooth")
Paint (high heat gloss? maybe regular paint?)
Done.
 
#12 ·
Aye, I've been floating that idea around from day one. Im just not sure bondo would be able to withstand the intense heat without cracking -- thats my only concern, and the reason why Im also tossing around the idea of a fiberglass cover to fit overtop the unit. I'll have to do some research -- Being a painter, I've worked a lot with bondo over the years, but not at extreme temps obviously. heh
 
#14 ·
Fiberglass cloth I have not worked with. I _did_ however go buy some along with some bondo. Im assuming you would cut to fit the pc of cloth, lay a base layer of bondo, then before it goes off, press and mold the cloth to it?
 
#16 ·
Im reading I can use an epoxy resin as a base coat as well. May be an easier application, since bondo tends to be a ticking timebomb.
 
#18 ·
Made a couple practice runs as you suggested, worked fine. So I've got the cloth on the nozzle corners now. Let it tack up and skinned over the top again and feathered it down to the topside and bottomside. Then skimmed over the top and bottom. Looks like S.H. :p Now to let it dry and cure, then the real test -- sanding. lol I just hope I put enough of a build on the cloth so I dont sand into it. Wish me luck!
 
#19 ·
If you are concerned, add another thin layer before you sand.
Remember, after the first sanding, clean it off real good, then another layer
and sand again.

I never wish anyone luck - I wish them skill and knowledge (they work better than luck all the time)
 
#20 ·
hah. Wise words.

Looking it over, I've adequately coated the glass cloth. Went ahead and gave it its first round of sanding. Think its gonna turn out good with 2 more coats or so..

Image

Thats it for the night.
 
#22 ·
Thanks m8. You Too!
 
#23 ·
Round 2 and 3 of Bondo and sanding and glazing.
Image


Image


Image


Smooth as butter now. Just getting the pin holes out with some glazing compound.

The top side has some very minor hills and valleys and Im not sure if they will show when finish paint is added. I've dot-marked them, and I may go over them with some glazing to see if I can raise them up a touch.

~Cheers~
 
#25 ·
I've got some Dynatron Glazing compound (the red stuff) that I think may work. Great for smoothing smaller things out, although I wish it was a little more malleable - its a little thicker to work with vs. bondo so spreading it is a touch harder. Sands pretty easy so you dont have to worry about biting into your existing work too much.
 
#26 · (Edited)
Update:
Instead of using glazing for those spots, I ended up using one more thin layer of bondo and a super-wide putty knife that spanned both sides of the top. Worked damn good. _Then_ I used glazing to fix up all the pin holes and scratches left from sanding.
Heres the product with the final coat of Primer added.

Image


Image


Im looking at getting a topside decal for it once the finish coat is done.
Perhaps something along the lines of this (but if I can find a Mopar decal locally then I'd rather have that):
http://www.autozone.com/autozone/ac.../Chroma-6-x-8-in-white-Dodge-Die-Cutz-decal/_/N-25wo?itemIdentifier=530380_0_0_

~Cheers~
 
#28 ·
Fouled and delayed by cat hair..........

2 damn cat hairs in my soft finish paint........ ><
Had to pick them out, buff the soft paint. Tomorrow I need to sand down the finish and start from scratch.
Perhaps I'll take the remaining time tonight and clean my shop, lay some fresh masking paper, buy a tyvek suit, shave the cats, etc... o.0
 
#29 · (Edited)
Well, I tried to float out the remnants of the cat hair lines post-removal. Was an earnest attempt, but an epic fail, so I just took the finish down to the bondo again with paint thinner, and started over -- this time, using a separate room for spraying (duh...), and no shirt!!!! haha :p
The results are great. 2 coats of primer and 2 coats of semi-gloss finish (looks more satin). Its curing now. I decided Im going to put a clear coat to reduce branishing and help make cleaning easier.
Then I'll be applying a mopar decal on the widest part of the scoop. I just cant decide on which one I want.

Image


Image


Im thinking the white outline would look pretty slick myself, but the solid white is crispy too. I may just buy both and slap one on my engine. o.0
Regardless, it should be complete by mid next week (going away for the weekend so will not have a chance to work on it).

~Cheers~
 
#30 ·
Well, heres the finished product. :)

Still going to be doing something different with the mounting system (probably heat bend some plastic to form-fit the mount), but the bulk is complete.

Image


Image


Image


Image


Image


~Cheers to all who helped in the process. :)
 
  • Like
Reactions: LYC79 and Francois
#34 ·
I used heat grade plastic to cut out the initial shape, oil based silicon to tack and seal the joints together before heat taping the entire nozzle inside and out. Then glass cloth around the sides and top for build and stability. Then 3 layers of bondo (1 thick 2 thin) sanded to a smooth, rounded finish. Then 2 coats primer, 2 coats semi gloss finish.